

I spend many hours pouring over magazines, blog posts and Pinterest soaking in all of the beauty. Usually, after I'm done, I realize that I can't afford to do half of the things I see in all those places. I mean, even the DIY/Hack versions are sometimes too pricey for me to tackle. That's where saving and creativity come in. I saw these painted Ball Mason Jars on Etsy going for a pretty penny. I'm not hating on the ladies that make them but, let's just say I gave their prices the old "child please" face when I saw them! I decided that I could make my own! Why not right?
So, here is my DIY recipe for "Painted Mason Jars".
Supplies:
Mason Jar - Any size that you'd prefer
Acrylic craft paint - I used some that I had laying around my studio
Sponge brush - This is optional. It helps with spreading the paint around
Step one: Assemble your jars and clean them with mild soap and water. Make sure they're dry completely before beginning.

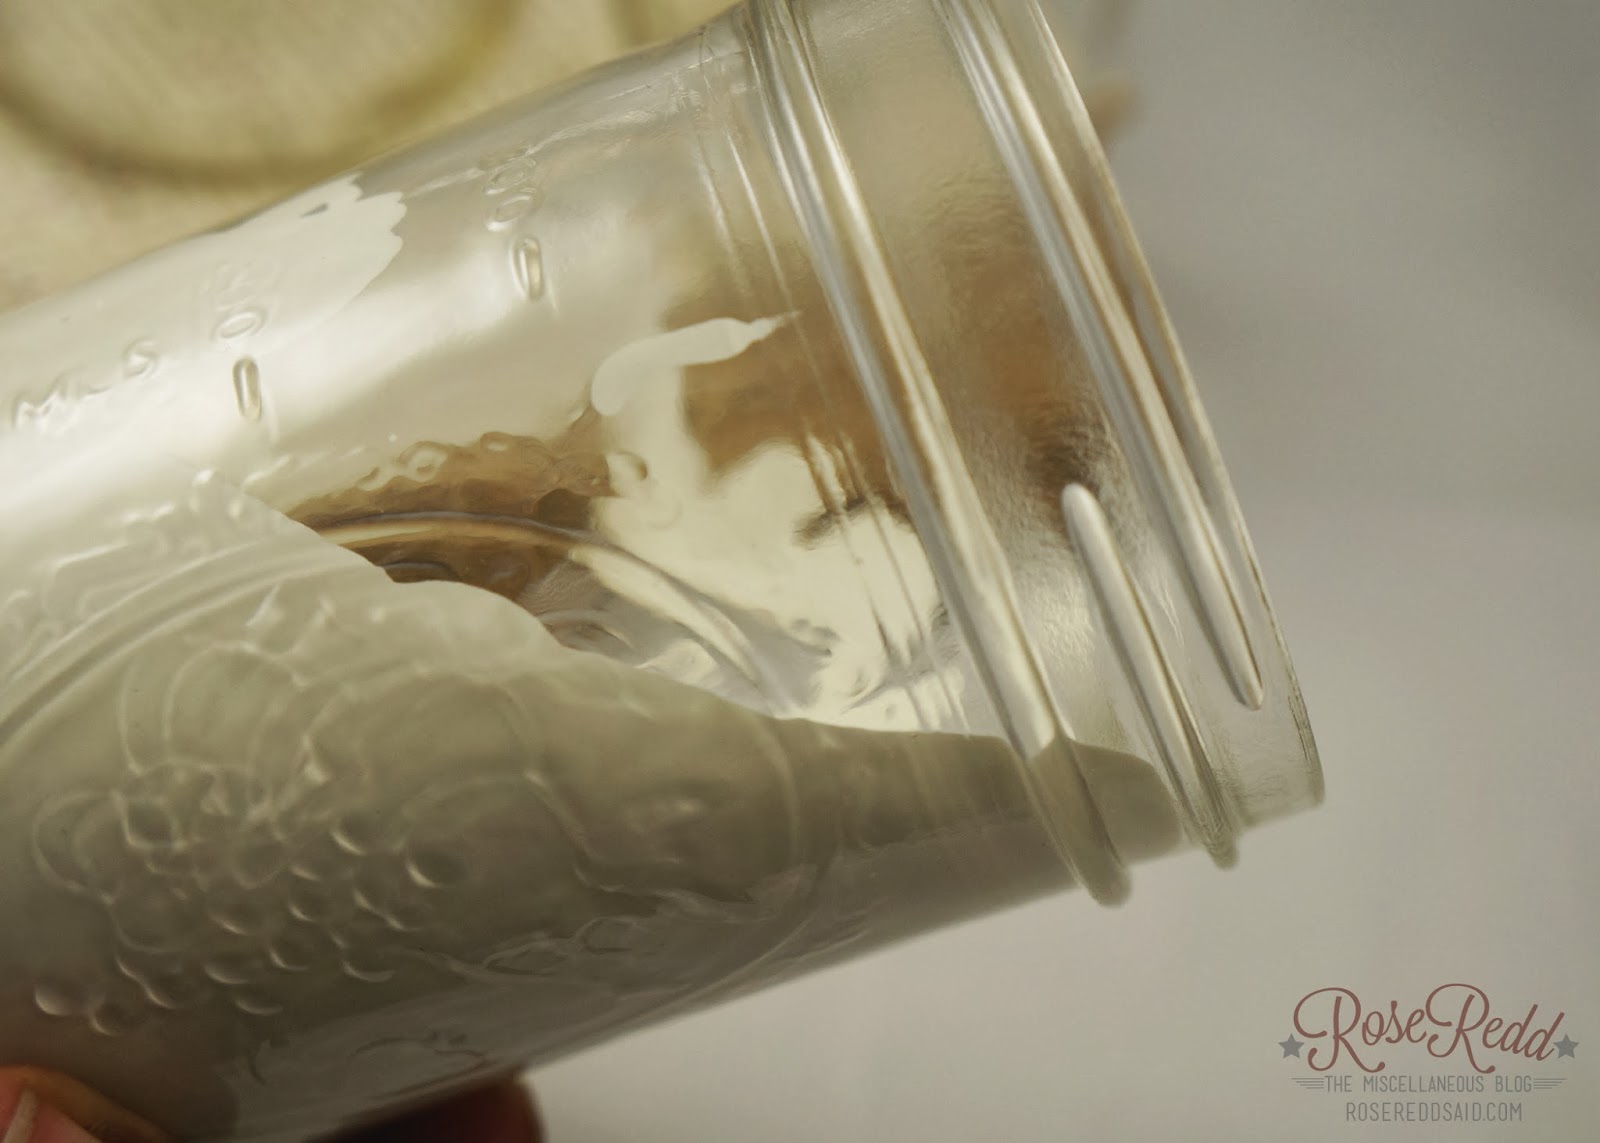
Step two: Squirt a "generous" (clearly that's a relative term) amount of paint into your jar. Aim for the bottom and the sides.

Step three: Swirl your jar around and let the paint run around in there. This is where that sponge brush would come in handy. ESPECIALLY if you're like me and need instant gratification with craft projects. That brush gets you there quicker.
Here are some tips that I've learned on this project:
1. If you use a sponge brush to coat the insides of the jar, you may need to use several layers of paint to get the coverage you want. The brush kinda thins the paint and leaves stroke marks.
2. Residual paint will rest in the bottom of the jar and be cracked and ugly. So, turn the jar upside down on some wax paper to dry. Then, peel the paper away after the coast is clear.
This project is CRAFTY LEVEL: 1 Beginner/Novice
That means anyone can do this! I used them as part of my holiday mantle decor and now they're on the mantle next to the coffee filter trees I made. Cuteness.
Thanks for stopping by and checking this tut out!
Let me leave you with this:
Never be too broke to try and figure out a work-around. You never know what you can come up with to improve your life or the lives of those around you. Don't let money curb your imagination and creativity. We all have it! Let your creativity and ingenuity solve problems for you and make you glow!


